Do you like the idea of babywearing, but the cost of a carrier has you crying?
We understand that even the most basic carriers can be expensive. And the price can reach up to several hundred dollars per piece if you choose a designer option.
In this article, we will discuss how to make your own baby carrier. We have instructions for making slings, wraps, and mei tais, and we’ll even share a couple of no-sew options so mamas of any skill level can make a comfortable baby carrier for their baby.
Why Baby Carriers Are Useful
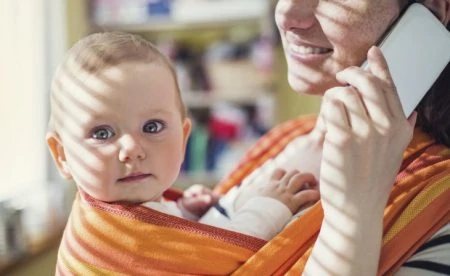
A baby carrier allows you to hold your baby, keeping them happy while keeping your hands free to tend to your other duties. With a baby carrier, you can multitask, run after your older child, wear your little one during errands, and even get your baby to sleep — all while keeping your baby in your arms.
A baby carrier also allows you to have more room in your vehicle when out and about because it can take the place of a bulky stroller for running your errands.
Benefits of Making Your Own Carrier
There are several reasons to make your own baby carrier. One reason is the cost. Carriers can get expensive, but the materials required to make one can be as cheap or expensive as you choose.
Making your own carrier is also a great idea for moms who want a carrier that is custom fit to their body.
You can adjust any of these tutorials to create a carrier that fits your needs. These carriers can also be made as gifts for friends or in a mini size for your children to use with their dolls.
Choosing a Carrier For You
With so many different types of carriers available, it can be hard to know which one to choose.
Here is a breakdown of four of the most popular models.
1. Soft-Structured Carrier
A soft-structured carrier is the most common style of baby carrier. It has a soft fabric body with padded straps that wrap around the parent’s shoulders and waist. The straps usually buckle closed to keep your baby safely in place.
2. Wrap
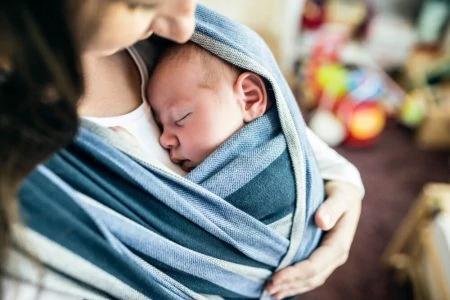
A baby wrap is a single piece of long fabric that you wrap around your body to carry your baby. Wraps are versatile, and you can fold and tie them in various ways to hold your baby on your chest, back, or even your hip.
3. Sling
A ring sling is a baby carrier used to carry your baby or toddler on either your chest, hip, or side. It goes over one shoulder and wraps diagonally around your waist. It is often held together with metal rings that allow you to tighten the sling and keep it secure.
4. Mei Tai
A mei tai carrier is a cross between a soft-structured carrier and a wrap. The body of the carrier is a structured fabric piece with four long ties that wrap around you and your child and tie to secure the carrier in place. With a mei tai, you can hold your baby facing your chest, facing outward to the world, on your hip, or on your back.
How Do You Make Baby Carriers?
The idea of making a sling might seem complicated and even intimidating. Don’t be scared, though — even a complete beginner can make their sling with a no-sew tutorial. We have projects for every skill level.
1. Sling
- Gather your supplies. You will need two sling rings, 2.25 yards of fabric, a sewing machine, pins, thread, a measuring tape, and an iron.
- Your fabric will be wider than you need, so cut the fabric to be 28 inches wide and still 2.25 yards long.
- Lay the fabric with the patterned side facing down, and fold the longer side one-quarter inch inward. Iron the fold so it creases, then fold another half inch and iron again. Pin these folds to prepare them for sewing.
- When the longer sides are pinned in place, you will repeat step three with the shorter sides. These side hems will fold slightly over the hem of the longer sides.
- Starting with one of the longer sides, sew a straight stitch up that side, across the shorter side, and back up the other long side. You will leave one short side unhemmed. It is a good idea to backstitch a bit at the beginning of your stitching and at the end to prevent the stitches from coming out.
- On the unstitched side, measure 15 inches down and mark that spot with a pin.
- Take the two rings and run the fabric through them, starting with the unstitched hem. Pull the hem down to the 15-inch mark, and fan the fabric out on both sides so you can pin the fold together. Make sure the fabric is not twisted at all.
- Sew straight across the unstitched hem to hold the rings in place. Sew another line a half-inch up from the original 15-inch mark, then another inch above the 15-inch mark. That will give you three hemlines to reinforce the sling so it can hold the weight of your baby.
2. No-Sew Sling
- Collect a piece of woven fabric just over 2.5 yards long. This can be any sturdy piece of fabric such as a tablecloth or sheet.
- Spread the fabric flat across your back diagonally so one end is over one shoulder and the other is around the opposite waist.
- Pinch the fabric that is over your shoulder to gather it evenly, then do the same to the tail end that is around your waist.
- Check to make sure the fabric around your back is not twisted.
- Tie a slip knot with the two end pieces of the fabric. To do this, take the tail up and behind through the top end. Let it drop straight down, then take it underneath and over the shoulder tail again. Pull the fabric through the loop you made to complete the knot.
- Check to make sure the knot slides up and down easily.
- You can now loosen the fabric to create the seat section of the sling to place your baby into.
3. Wrap
- First, gather your supplies. You will need a piece of fabric measuring five yards, scissors, a serger, and thread.
- Cut the fabric so that it is 5 yards long, but only 20-23 inches wide.
- Fold the fabric in half so the two shorter ends meet evenly.
- Starting from about eight inches in, snip off the corner by cutting through both layers of fabric until you reach the side.
- Fold the fabric lengthwise so that the cut sides are on top of the uncut side, and cut the other corner of the fabric through both layers. This makes the ends smaller and easier to tie.
- If you want to, serge the sides of your fabric to keep them from fraying. This is not necessary if you have chosen a stretchy fabric, such as a jersey knit.
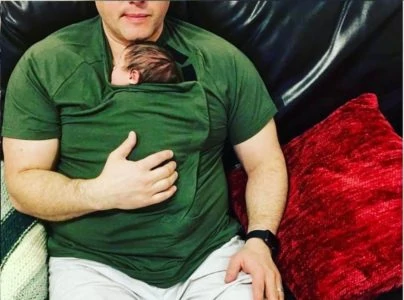
4. No-Sew K’Tan
- First, gather your supplies. You will need two T-shirts that do not have side seams, a pair of scissors, and a third T-shirt, scarf, or belly band.
- First cut off the two T-shirts at the armpits. Do the same if you are using a third shirt.
- Place one T-shirt over your shoulder, going across your chest diagonally.
- Do the same with the second T-shirt on the opposite shoulder.
- To wear your baby in this carrier, place them into the inner T-shirt piece with one leg on either side of the fabric, then straddle your baby’s legs over the outer T-shirt loop. Each leg should be tucked under one of the loops, securing them in the carrier.
- Ensure your baby is high on your chest, the T-shirt pieces cross at the back of the neck, and your baby’s airway is not obstructed.
- Now take the third T-shirt loop or the belly band and step into it, pulling it up to your midsection and spreading it over your baby’s back from their neck to under their bottom. If you’re using a scarf, tie it securely around your midsection from your baby’s neck to their bottom to create more stability for the carrier.
5. Mei Tai
These are the supplies you will need to make a Mei Tai:
- A large piece of paper or butcher paper.
- 3.5 yards of fabric for your straps.
- Fusible interfacing fabric pieces for the body.
- A marker.
- Scissors.
- Two 2/3 yard pieces of fabric for the body pieces (use two different kinds to make your mei tai reversible).
- A measuring tape.
- An iron.
- Pins.
- A sewing machine.
- Create your pattern for the body piece of your wrap. You will want it to be 19 inches at the tallest point, 16.5 inches at the bottom width, 13.75 inches at the skinniest portion in the middle, and the top angled corners at 5 inches each. That will make the top 9.5 inches in width.
- Using your pattern, cut four pieces of fabric in the shape of the body piece — one from each pattern you picked for the body and two from the interfacing fabric.
- Cut two pieces of fabric 22 inches wide by 80 inches long for the straps. Then cut two pieces 11 inches by 32 inches from the remaining fabric.
- Take the textured side of the fusible interfacing and lay it face down on the wrong side of your body pieces. Iron to fuse them into place.
- Do the same with the other body piece.
- Create the straps by folding the long sides together with the right sides of the fabric facing in, and pin the fold into place.
- Sew one short side and the entire long side so the strap is one piece with one short side open.
- Turn the strap right side out, iron it flat, and topstitch around all four sides.
- Repeat steps seven to eight to create the other three straps.
- Take one of the shorter straps and pleat it on the end that is not all the way finished. Lay it on the right side of one body piece, leaving a half-inch seam allowance.
- Repeat step 10 on the other side of the body with the second short strap.
- Do the same with the longer straps on the shoulder section. Again, make sure to leave a half-inch seam allowance on the body piece.
- Fold the end of the straps to lay them in the center of the body piece.
- Lay the second body piece on top of the first with the right sides of the fabric facing each other. You will notice the ends of the straps are sticking out. This ensures they are secure to hold the weight of your baby.
- Pin the two body pieces together, then sew around the edge. Make sure to leave a five-inch to six-inch space at the top to allow you to turn everything through to the right side.
- Snip the seam allowances on the two curved areas carefully.
- Reach in through the top and turn your carrier right side out.
- Iron the carrier flat, then topstitch around the entire body piece twice.
In Conclusion
Babywearing can be beneficial, but it can also get expensive. Making your own baby carrier can be a fun craft and an inexpensive way to wear your baby. Your little one will get the benefits of being held while you get to keep your hands free and your budget intact.